
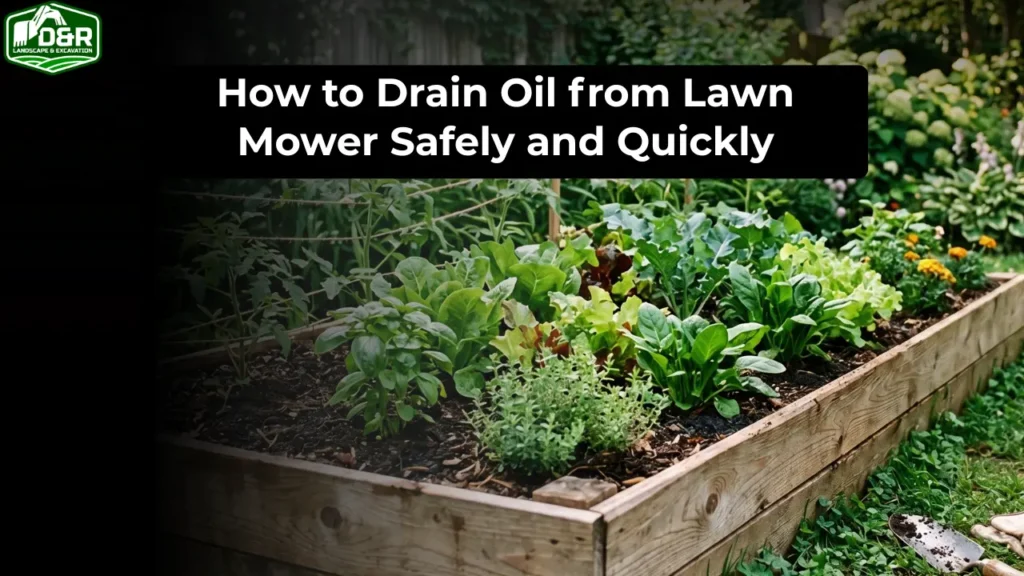
One of the best methods for planting vegetables, herbs and flowers at your residence is the raised bed garden. It provides complete control of the quality of soil, enhances drainage, eliminates weeds and makes gardening easier for both novices and experts.
Learn how to build a raised garden bed easily step-by-step, learn some affordable DIY approaches, get ideas for raised vegetable garden plans with legs and even how to create a raised garden on a slope.
Table of Contents
Why Build a Raised Garden Bed?
A raised garden bed is more than just a wooden box filled with soil. It brings a controlled plant environment, which increases plant health and productivity in a garden.
Better Soil Control and Plant Health
Native soil quality isn’t an issue in a raised bed. You can develop a nutrient laden soil combination which will encourage more robust roots and quicker growth.
Improved Drainage and Less Waterlogging
Excessive water naturally drains away and away according to raised beds, avoiding root rot and fungal diseases. It is very beneficial in places where the soil is heavy or clayey soils.
Easier Gardening Experience
Since the soil is at a higher elevation, the bending involved is not so great. This helps to minimize physical strain and to make gardening easy for all ages.
Types of Raised Garden Beds You Can Build
Choosing the right type of structure before understanding construction is important, especially for the different space and function requirements.
Standard Ground-Level Raised Bed
This is the most basic and widely-used design. It is placed directly on soil and is ideal for novice gardeners looking for an inexpensive and hassle-free gardening experience.
Raised Garden Bed with Legs
A raised bed with legs is intended for patios, balconies or those who like to garden while standing up. Helps prevent plants from growing too tall and enhances easier access into the garden, particularly for older gardeners, or those with back problems.
Raised Bed Vegetable Garden
This type is created particularly for vegetables. It provides better control of the soil and hence better quality vegetables (tomato, carrot, lettuce and pepper).
Raised Garden Bed on a Slope
Raised beds can be built on either a level surface or on slopes, or on unequal terrain by flattening it. This helps to prevent soil erosion and maintain stability of the structure.
Tools and Materials Needed
Simple woodworking and good materials are all that’s required to create a robust and sturdy raised garden bed.
The most vital element is wood and cedar or redwood is commonly used as these materials are naturally decay resistant. You will need screws, a drill, a measuring tape and a saw to cut boards. A level tool to make sure that the structure level, particularly when using uneven ground.
To fill the bed, a soil consisting of a mixture of topsoil, composted material and organic matter will be used, in order to produce a nutritious soil.
Step-by-Step Guide: How to Build a Raised Garden Bed
Step 1: Selecting the Perfect Location
Gardening location is an important part of plant growth. Select a spot that gets at least 6-8 hours of sunlight a day. Steer clear of areas that can get water because of the shadow and also areas where water puddles after rains.
Step 2: Planning Size and Layout
The typical size of a raised gardenbed is approximately three to four feet wide with easy access from both sides. The height can be between 6 to 12 inches, and length varies as per space availability.
The proper size will provide comfort and efficient plant care.
Step 3: Preparing and Cutting Wood
After you decide on the size, cut your wooden planks to the correct size. Avoid sharp edges and misalignment by smoothing edges for smoothen assembly.
Step 4: Building the Frame
Put the wooden pieces together to make a rectangle or square. Tightly connect the corners by screws or brackets. A good frame is vital since it will support the soil for several years.
Step 5: Preparing the Ground
Scrub the area to be cleared of stone, weeds and other debris. You may also use cardboard or landscape fabric beneath to help prevent weed growth naturally.
Step 6: Installing and Leveling the Bed
Put the frame up and use a level to check for alignment. If the ground is irregular, regularize by raking/packing or raising the ground slightly in place of the irregularity.
Step 7: Filling the Bed with Soil
Fill the structure with a well balanced soil test. A popular and effective combination is to make use of top soil for framework and/or compost for nutrients and/or organic matter to keep soils moist. A good team mix for good seasoning plant growth.
How to Build a Raised Garden Bed Cheap
A raised garden bed can also be constructed at a very affordable cost, if you wish to keep it that way.
Use Reclaimed or Recycled Materials
The material used is where the old wooden planks, pallets or the remains of construction lumber can be several times repurposed to create the sturdy framework. This not only eats into wallet-pound but also provides a sturdy construction.
Simplify the Design
Don’t over-design or reinforce. Most gardening requirements can be met with a simple rectangular cubicle.
Prepare Your Own Soil Mix
You don’t need to purchase premium potting mixtures, but can mix garden soil, compost, and organic matter in the garden. This not only reduces costs, but also enhances sustainability.
How to Build a Raised Garden Bed with Legs
Raised garden bed legs are good for small spaces and easy to garden.
Frame Construction
First, it’s important to create a sturdy wooden box. This should be used as the planting container and should be rigid and strong enough to support the weight of the soil.
Adding Support Legs
Mount 4 sturdy legs on the bottom of the structure. Such legs should be square and parallel to each other so that they do not lean to either side so as to not tip over.
Drainage Considerations
Be sure there are drainage holes at the bottom of the container to help excess water drain out. This creates no water accumulations and maintains healthy roots.
How to Build a Raised Garden Bed on a Slope
Sloping sites have extra stability and leveling considerations when constructing.
Terracing Method
A good one is to make several shallow stairs. A separate raised bed is provided for each level, thus soil will not liquefy downhill.
Level Frame Method
One alternative is to make a flat platform in part of the slope. Wooden posts or stakes may have to be used to stabilize the structure on the downhill side.
To be sure of long-term durability, a proper level is necessary.
Best Soil Mix for Raised Garden Beds
Good garden soil is essential to good gardens. A proper balance gives good drainage, nutrients and rooting ability.
Ideal is high nutrient top soil, compost for fertility, and organic matter for moisture retention. This combination is perfect for the growth of vegetables and plants.
What to Grow in a Raised Bed Vegetable Garden
Raised beds are ideal for growing just about anything in a garden. This makes tomatoes, lettuce, spinach, carrots, peppers, basil, and mint plants thrive in these conditions.
The soil conditions are controlled and plants grow faster and yield more than traditional gardening.
Common Mistakes to Avoid
There are a number of mistakes that novice gardeners typically make in raised bed gardening. A common problem is failure to use the right or insufficient quality of wood, thereby reducing its life.
Other errors are making the bed too wide, so that it is not easy to get to the middle. However, improper drainage design may also result in plant damage due to water accumulation.
These are the things to avoid if you do not want to make mistakes in your garden that will make the work unproductive and also keep the squirrel away from your garden to being successful.
Maintenance Tips for Long-Term Use
Don’t neglect to keep your raised garden bed healthy for years by providing it with regular maintenance. Feed the soil with compost in each season; takes care in watering so there is no overwatering.
Upon every inspection, check wooden frames for damage, and make repairs to loose joints. Crop rotation also keeps soil fertility over the years. It is always advisable to have a professionals help like DNRLandscaping for lawn care services.
Final Thoughts
Making a raised garden bed tutorial makes home gardening more productive, easier and enjoyable. The ideas are the same regardless of whether you plan how to build a raised garden bed, then make it an ornate cardboard box with legs or create a raised bed on a hillside: design with strength, soil well prepared, and proper care.
If you’re willing and able, your raised garden bed can yield fresh vegetables and healthy plants for years to come with the proper approach.
FAQs About How To Build A Raised Garden Bed?
How deep should a raised garden bed be?
Most vegetables and herbs prefer a raised garden bed that has a depth of 6-12 inches. For root vegetables such as carrots, potatoes and beets, though, planting 12 to 18 inches deep will permit good rooting and a nutritious production.
What is the cheapest way to build a raised garden bed?
Recycled/reclaimed materials like used wooden pallets, wood from construction waste, even brick and stones are the lowest cost materials. Even simpler design and more still easy soil building by using compost can curb expenses without compromising quality.
Can I build a raised garden bed on concrete?
Yes, raised garden beds can be made in concrete, patios or paved areas. The only thing you’ll need to do is make sure you have good drainage, either by placing gravel on the bottom or making drainage holes if it is made with a solid base. This will help excess water flow off and helps to avoid root rot.
How long do raised garden beds last?
The ideal length of time that a raised garden bed can last depends on the material selected. Untreated wood will last about 5-7 years while durable wood, such as cedar or redwood, can last 10-15 years or more. With correct care and prevention from too much moisture, it will last longer.
Do I need to line the bottom of a raised garden bed?
The bottom can be lined (optional) or left plain. Some gardeners use either cardboard, newspaper or landscape fabric over weeds and grass to prevent them from coming up into the garden. It is however equally important not to suffocate the drainage altogether because the good discharge of water is imperative for plant well-being.